Mail Configuration
How to setup your Mail
Microsoft Outlook
- Click on Tools Account Settings
- Select the Email account, then click on “change” tab

- Click on More Settings, in the new window select the “Outgoing Server” tab
- Enable the option “My outgoing mail server requires authentication” and select “Use same settings as my incoming mail server”
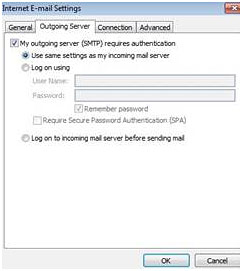
- Click on “Ok”, “next” and “finish”
Android Device
- Click on the mail application, under Email settings choose the appropriate account
- Select “Server Settings” under the “Advanced Settings” section
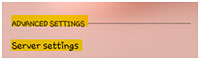
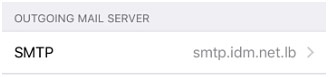
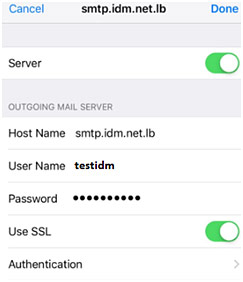
- Under the “Outgoing Server” section enable the option “Verify before sending emails” and add your username and password
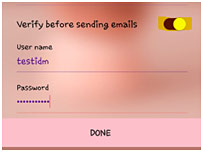
- Click on Done
The emails will fail to send in case the above configuration is not completed properly
MAC Device
- Open Mail.app, Go to Mail Preferences
- Click Accounts Account Information
- Under Account Information look for Outgoing Mail Server (SMTP), click on the drop down arrow and select Edit Server List...

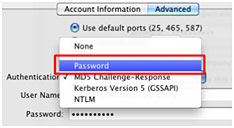
- Select the existing SMTP server, click Advanced, from the Authentication drop down, select Password and fill in your Username and Password
- Save the changes, and try sending mail again